
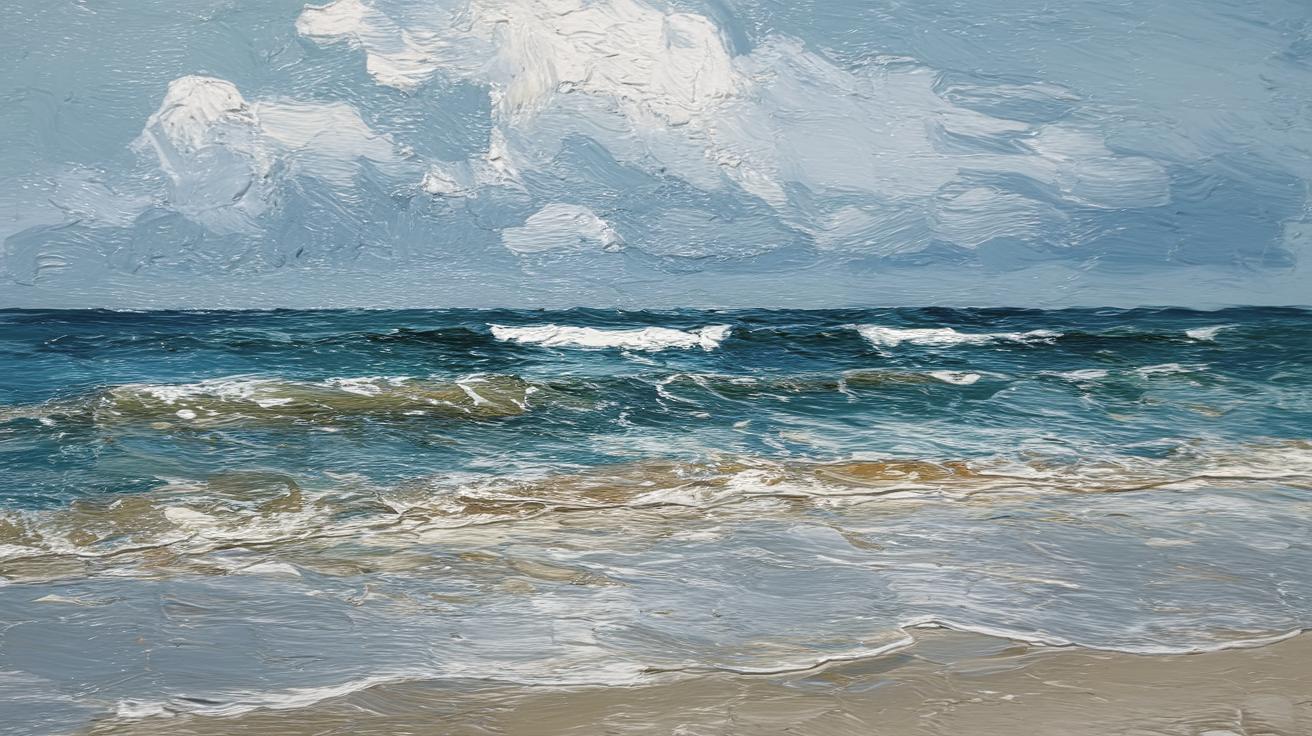
Mastering Sea Painting: A Step-by-Step Guide
Painting the ocean can be a deeply rewarding experience for both novice and experienced artists alike. Capturing the dynamic beauty of the sea requires a keen eye for color and movement. This guide is designed to walk you through 8 easy steps to create a captivating seascape, offering tips and techniques that can help you bring the majesty of the ocean to your canvas. From choosing the right materials to putting on the final touches, these steps will provide you with a clear roadmap to follow, whether you’re an amateur painter seeking new challenges or a seasoned artist looking to refine your skills. Embrace each step with creativity, and soon, you’ll have your very own masterpiece of oceanic art.
8 Easy Steps to a Sea Painting
Step One: Gathering Your Materials
Before you begin your sea painting journey, it’s essential to gather all the materials you will need. The right supplies will make a significant difference in the outcome of your artwork. Start with a high-quality canvas that suits your preferred size. Many artists recommend a canvas with fine linen for smoother blending of colors.
Next, select a range of paints that reflect the vibrant hues of the ocean. Acrylic paints are popular due to their quick drying time and versatility, but oil paints can offer superior blending capabilities. Don’t forget your brushes! A variety of flat and round brushes will be useful. Also, consider palette knives for creating texture. Remember, having ample space to work, along with easels to properly set your canvas, is crucial for comfort and control.
Step Two: Sketching Your Scene
With your materials ready, the next step is sketching your scene. Use a light pencil or charcoal to outline the main elements of your seascape. Focus on defining the horizon line, which is a critical component in sea paintings. It serves as the reference point dividing the sky from the sea, establishing the perspective.
Consider incorporating elements like cliffs, sailboats, or a distant island to add interest and narrative to your piece. Keep your sketches light, so they don’t show through the paint. Approach this step with a flexible mindset. Initial sketches are meant to be guides, not strict blueprints, allowing room for creativity as you proceed with the painting.
Step Three: Blocking in Basic Colors
After sketching, it’s time to block in the basic colors. Start by laying down the general colors of the sea and sky. Use broad strokes with larger brushes to cover areas quickly, capturing the overall mood and lighting of the scene. Begin with lighter shades, as it’s easier to build depth with darker tones.
Pay attention to the sky, as its color and lighting will influence the appearance of the water. Whether you aim for a serene morning light or a dramatic sunset, the interaction between sky and sea is fundamental. At this stage, don’t worry about details; focus on achieving a general balance of colors and tones across the canvas.
Step Four: Developing the Sky
With the basic colors in place, focus on developing the sky. A captivating sky can set the emotional tone for your entire piece. Smooth transitions between light and dark areas can convey a sense of depth and immensity. Consider the placement of clouds and how they interact with the light source.
Use blending techniques to create soft gradients between colors. Brushes with soft bristles are perfect for this task. Experiment with different brushstrokes and color glazing to add texture and layers to your sky. Remember, a well-detailed sky will often reflect in the water below, enhancing the cohesion of your seascape.
Step Five: Capturing the Movement of Waves
Capturing the movement of waves is perhaps the most exciting part of painting the ocean. Waves bring life and motion to your seascape, requiring careful observation and dynamic brushwork. Study references of waves to understand how they rise, break, and crash into the shore or roll gently out at sea.
Use shorter, more energetic strokes to depict waves in action. Highlight their crests with lighter shades, creating the illusion of sunlight dancing across their surfaces. Incorporate various blues, greens, and even hints of purples to mimic the light’s interaction with water. Allow your brush to move freely, mimicking the natural flow and energy of ocean waves.
Step Six: Adding Details to the Foreground
As your painting begins to take shape, add details to the foreground to enhance depth. Elements such as rocks, coral, or sea foam can provide focal points and emphasize the scale. Carefully consider the placement and perspective of these objects to maintain harmony and balance.
Detail work requires patience and precision. Use smaller brushes or even fine-tipped tools to achieve sharp lines and textures. Pay close attention to light and shadow interaction as this can significantly impact the realism of your foreground elements. As you add these details, ensure they contribute to the narrative of your seascape, drawing the viewer’s eyes into the scene.
Step Seven: Refining Light and Shadows
Light and shadow play a central role in bringing your seascape to life. They add dimension, mood, and realism. To refine this aspect, evaluate your entire composition and identify areas that need more defined contrasts. Adjust the values by deepening shadows or lightening highlights for greater impact.
Take into account the primary light source. For instance, if the sun is setting to the left, shadows will naturally fall to the right. Such consistency helps preserve the integrity of the scene. Use glazing techniques to gently alter the color intensity and achieve smoother transitions, ensuring that the nuanced interplay between light and darkness complements your artistic vision.
Step Eight: Final Touches and Review
As you approach the final touches, stand back and view your painting from a distance. This perspective helps in spotting areas that need adjustment. Fine-tune elements such as reflections in the water or the texture of the waves until you are satisfied with the balance and composition.
Dab highlights sparingly with a small brush for glimmers of light, ensuring a natural sparkle to the water’s surface. Consider your emotional connection to the piece—is there a story or feeling it conveys? Once you feel your painting achieves the intended effect, sign your work, and allow it to dry thoroughly. This final step is a moment to reflect on the journey taken and the piece you have created, a testament to the beauty and complexity of the ocean you’ve captured on canvas.
Final Thoughts
| Steps | Summary |
|---|---|
| Step One | Gather materials: canvas, paints, brushes, and space. |
| Step Two | Sketch the scene: outlines with pencil, focus on the horizon. |
| Step Three | Block in colors: lay down basic sea and sky colors. |
| Step Four | Develop the sky: use gradients for depth, add texture. |
| Step Five | Capture waves: energetic brushwork for dynamic movement. |
| Step Six | Add foreground details: rocks, sea foam for depth. |
| Step Seven | Refine light and shadows: adjust values for contrast. |
| Step Eight | Final touches: adjust balance, sign the piece, let it dry. |

