
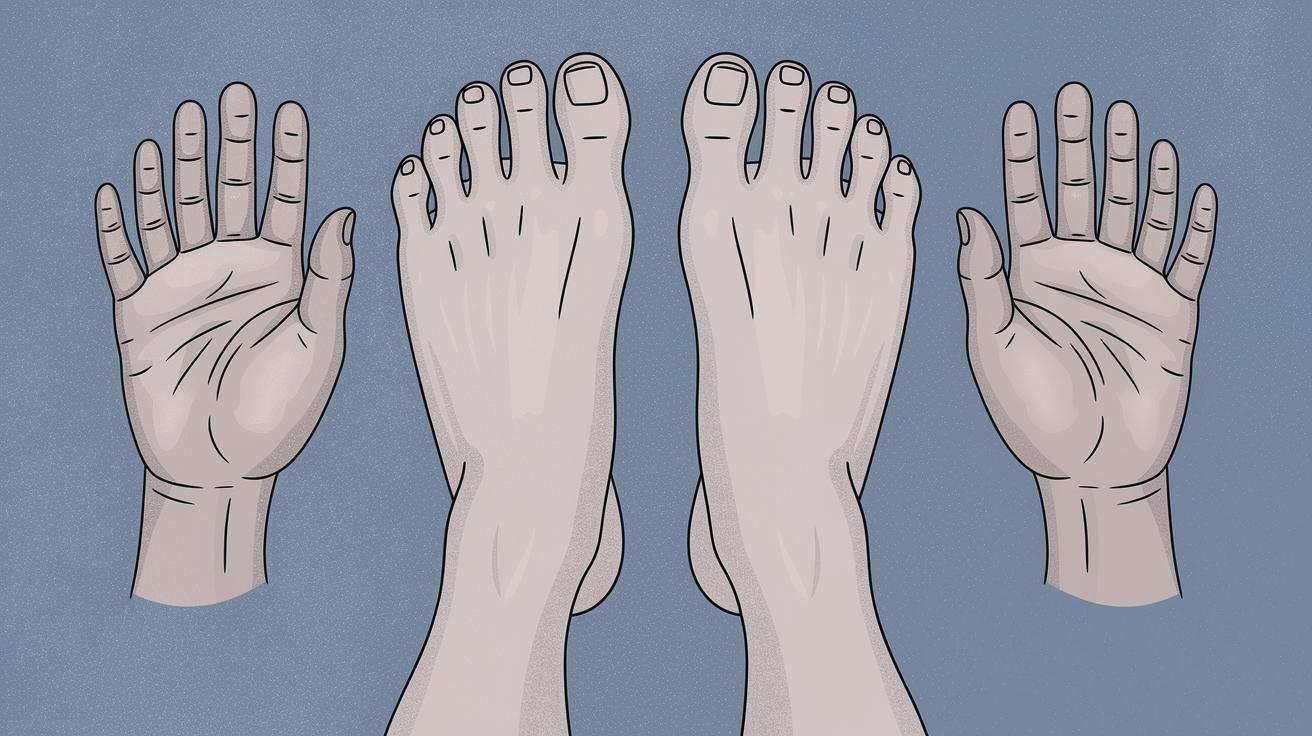
Mastering the Art of Drawing Hands and Feet
Hands and feet are notoriously challenging subjects for artists, yet mastering their depiction is crucial for creating believable human figures. This blog post serves as a comprehensive guide to understanding and drawing hands and feet with accuracy and artistry. From basic proportions to the subtleties of children’s hands and feet, we’ll explore essential techniques such as differentiating between straight lines and curves and paying attention to details like nails. Whether you’re a beginner or looking to refine your skills, these insights will elevate your ability to render these complex parts of the human anatomy. Delve into our step-by-step instructions that will lead you through each intricacy, and discover the nuances between adult and children’s extremities.
Basic Proportions (Hand)
Understanding the basic proportions of the hand is foundational to achieving a realistic depiction. Typically, the length of the hand, from the wrist to the tip of the middle finger, is roughly the same as the length of the face, making this a useful guideline. The palm is about the size of the fingers, which is a surprising fact for many aspiring artists. The width of the hand is also an essential measure, usually equating to four fingers’ width.
Another aspect to consider is the relationship between joints. The middle finger is the longest part of the hand and serves as a fundamental unit of measure. By using the middle finger, artists can estimate the lengths of the other fingers and determine the hand’s breadth and curvature. Knowing these proportions in adults helps in creating more detail-oriented and natural hand drawings.
Children’s Hands
When drawing children’s hands, the proportions change considerably. Children’s hands are proportionally chubbier with shorter fingers compared to adults. This gives them a softer and more delicate appearance. Artists should scale the length of the fingers to match the smaller and rounder shape of children’s hands.
Details like subtle dimples at the knuckles and slightly more exaggerated curves can help convey the youthfulness of children’s hands. The transition between the palm and fingers is less pronounced, making it important to capture the smoother appearance of a child’s grip.
Straight Lines vs Curves
The balance between straight lines and curves is key when drawing hands. The palm is a perfect example of this balance, featuring more rigid, straight lines, whereas the fingers are composed of gentle curves. This juxtaposition can be seen in how the fingers curve naturally when at rest, creating elegance and fluidity.
Artists should observe the way light and shadow play across these surfaces to enhance the three-dimensionality of their drawings. Straight lines can demarcate knuckled regions, while curves can highlight the flexibility of tendons and skin, offering a harmonious blend of structure and supple form.
Nails
Focusing on nails can greatly improve the realism of a hand drawing. Nails have a glossy surface that not only catches highlights and shadows but also reflects hints of surrounding colors. When rendered accurately, nails can add depth and vitality to fingers by suggesting cleanliness and attention to detail.
Each finger’s nail has a unique shape, generally conforming to an elliptical or rounded rectangle shape. Observing the slight curvature at the nail beds and cuticles is crucial for depicting nails with accuracy in a range of positions and angles.
Step by Step (Hand)
Begin with a loose sketch of basic shapes — a rectangle for the palm and ellipses for the fingertips. Connect these shapes by drawing guidelines for the fingers and thumb, maintaining the proportions previously discussed. Proceed to refine finger forms by adding joints and segments.
Next, include details such as curves for knuckles, nails, and wrist outlines. Keep adjusting lines to further define the free-flowing movement of the fingers, then focus on shading to create depth. Complete the drawing by adding subtle wrinkles and creases to indicate skin texture.
Basic Proportions (Foot)
The foot, though often hidden, is a pivotal component of figure drawing. Similar to hands, understanding the basic proportions is crucial. A common method is to measure the foot’s length, which generally equals the distance from the inner ankle to the ball of the foot. The toes should form an arch, with the big toe being the longest.
The width of the foot can be compared to the hand’s width, offering a similar foundation for measurement. Familiarizing yourself with these proportions will improve anatomical accuracy and overall proportions in figure drawing.
Toes
Toes can seem simple but are complex in their own right. They’re not uniform in length; each has a unique size and shape that requires carefully considered rendering. The big toe, or hallux, often angles slightly inward relative to the second toe, which is the second longest.
Drawing toes involves capturing their distinct randomness. While they share a consistent structure, each toe typically tapers towards the tip, and the toenail shapes and cuticles should vary to convey realism. Artists must note how toes splay and bend under weight to create a natural representation.
Bending
When drawing feet, understanding how they bend is paramount. The arch is key; it creates a natural curve from the ball of the foot to the heel, making it indispensable to show weight distribution and balance. The foot pivots primarily from the ball, while the arch flexes as weight shifts.
Crucially, the natural tilt and bend of toes enhance their realism. Observing how the tendons highlight when toes are curled or stretched helps reproduce these dynamic shifts in perspective. Accurate rendering of these elements captures the fluid nature of foot movements.
Children’s Feet
In contrast to adult feet, children’s feet are plumper with smaller toes and a rounder shape. Proportions shift, with heads larger than the typical foot length guides, giving an aura of innocence and newness. Artists should reflect on the smoother contours in children’s feet.
These feet feature fewer defined bones and are more adaptive to different positions as growth progresses. Capturing the essence of soft padding, rather than arch and bone, gives children’s feet their youthful appearance, making drawing more aligned with their physiology.
Step by Step (Foot)
Start by blocking out the foot’s main structure with basic, familiar shapes – a triangle for the toes, an oval for the heel, and lines to segment the toes. This outlines the initial form. Add depth by sketching bones and guidelines for natural arch and toe arrangement.
Finalize toe outlines, adding joint definition and nails. Render the distinguishing bumps of the ankle and foot, then enrich with shading to illustrate the shifts in texture and bone structure. By integrating these elements, create a realistic and embedded impression of the foot.
Future Prospects
| Section | Highlights |
|---|---|
| Basic Proportions (Hand) | Aligns with facial length; uses middle finger for measurement; establishes hand width. |
| Children’s Hands | Shorter, chubbier fingers; gentler curves; subtle knuckle dimples. |
| Straight Lines vs. Curves | Contrast between palm’s lines and fingers’ curves; importance of shadows. |
| Nails | Detail with highlights and shadows; elliptical shape with rounded edges. |
| Step by Step (Hand) | Begins with basic shapes; refines with joints and finger settings; adds textures. |
| Basic Proportions (Foot) | Measure length from ankle to ball; toe arch importance; hand-width similarities. |
| Toes | Unique shapes and lengths; nail and cuticle variation; weight distribution importance. |
| Bending | Focus on arches and movement; bending and pivoting; toe flexibility depicted. |
| Children’s Feet | Plumper with smaller phalanges; less visible bony structures; smooth padding appearance. |
| Step by Step (Foot) | Overall shaping with triangles and ovals; precise joint and nail details; impactful shading. |
In this comprehensive guide on hand and foot drawing, each section delves into different aspects of drawing, looking at proportions, unique characteristics of children’s anatomy, and tips on capturing these parts in a realistic manner. This approach not only covers basic concepts but also advances towards a more nuanced understanding of these complex subjects, setting the foundation for artistic growth and exploration.

